Keep in mind first of all, there is no one way to process animal remains to get the bones. My blog posts here are just my opinion from my own personal experience. I've been collecting bones for 33 years now and I still learn new things all the time. Best way for you to learn is from your own experience.
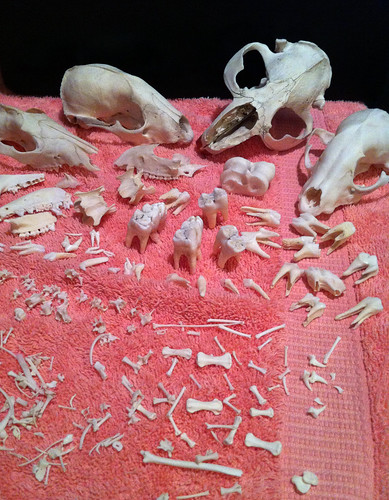
There are two standard rules of what NOT to do:
1) NEVER boil bones.
I think the word 'boil' pops up a lot because of one bone process called the European skull boil method. Which is very poorly named. You want your water to simmer, not boil.
Boiling causes fat to soak into the bone. Leaving you with a greasy and yellowish bone. Some grease can be removed with ammonia and certain industrial solvents but they cannot remove deep grease. I absolutely NEVER use any harsh additives, cleaners, solvents in my bone processing. In my experience the more unnatural processes you put the bones through the greater than chances you are lowering the quality of them.
So instead to degrease you want to put your bones in a bath of water and dish soap. Some people swear by Dawn, I've honestly never even used it. I find the generic works just fine. The grease will slowly come out of the bone and float to the top for you to scoop off. This is a slow process which can take weeks or even months.
Boiling can also weaken and break bone that has already started to decay. Turning smaller bones to mush, causing fragile bones like those in the nasal cavity to fall out and often cracking enamel off of teeth. So instead, slow simmer if you must. If you see bubbles, your water is too hot. Though, I personally only use this method as a last resort to remove tough ligaments and hard dried on flesh. I rarely do it on the stove top because I like to carefully regulate the temperature. Though sometime for things such as large skulls I have to.
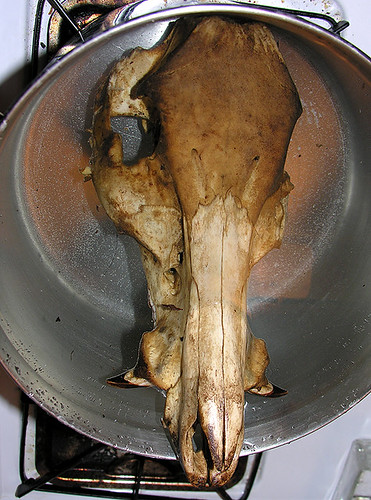
Large wild boar skull doing a quick simmer to clean before peroxide bath.
I normally use a crock pot, which larger bones won't fit in. I fill it with water well above the bone and put it on low. Being sure to top off the water as it evaporates. This crock pot method is one of my own invention. I've never met anyone else that does it. It has worked well for me since the early 90s when I first started using it. When I have a really stuck on flesh mass, ligaments or something similar I use the crock pot as a last resort. Most of the time it works within hours but in tough cases I've had to leave it overnight. Also, another trick I like to use is to add a metal veggie steamer/strainer to the bottom of the crock pot to minimize the bones/teeth actually touching the hot ceramic pot.
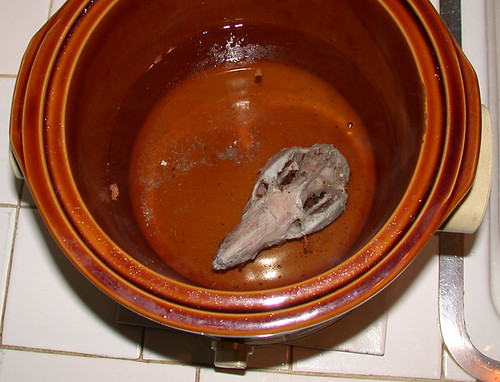
Vultures had literally just pulled the outer skin off this opossum so I decided to do a slow simmer in the crock pot instead of maceration. This worked very quickly with the flesh still so fresh/soft.
2) NEVER use chlorine bleach on bones.
Chlorine based bleach permanently damages the bone itself. It will start to break down the structure of the bone and will continue to even after it is rinsed and dried. Resulting in chalky, fragile and extremely porous bone that will turn to bone meal with age. Not to mention it turns the bone yellow. Which pretty much defeats the purpose if you are trying to whiten the bone. Once it yellows from bleach there is nothing you can do about it. Believe me, I've tried to salvage yellow bleached skulls before to no avail.
To sanitize and whiten bone use regular household hydrogen peroxide (H2O2) that you can easily and inexpensively get ahold of at the grocery store, dollar store or drugstore. Do a 50/50 bath with water just above the bones in a loose lidded plastic container to reduce evaporation. Oxygen activates the peroxide so you want to let air get to it. But it will evaporate so keep an eye on it and top it off as needed. Also, if you have a tight lid on it pressure may build up and the top literally blows off.
How long? Just keep the bones in this bath until they are the color you want them. This is a personal preference. Note that the bone will dry lighter than it looks wet. This process can take days or weeks. Although if you leave it too long it will eventually make the bone brittle. But this usually would take months for medium sized bones like say of a raccoon. This is a very safe process for most bones if you properly follow my steps. When done whitening, rinse the bones in water then lay out to dry in the sun on towels or dry inside with a fan on. I put towels or paper towels under the bones to help pull moisture out. Be sure the bones are dry before you put them in a sealed container for storage or they may mold.
Important factors: If your H2O2 bath gets really cloudy you likely need to dump it out and start a new bath. Otherwise it will start to macerate instead. Do not use a metal container with H2O2. Use plastic or glass. Store in a cool dark place. Direct sunlight will eventually deactivate H2O2 that's why it comes in dark containers. Do not do this step outside with no lid. You will just end up with deactivated H2O2, algae and insect larvae all over you bones and you'll have to start over... or the bones may be ruined.
DO NOT use hair developer type peroxide on bones, ever. There are additional ingredients in it besides H2O2 and it is MUCH stronger than regular H2O2. Which I think is only 3%. I have experimented with this myself and the developer turned huge deer vertebrae to literally mush in my hands. Likewise, do not use the powdered hair bleach packets. The same results will happen. So you've been warned!
Note that some staining will not come out especially if bones were decaying on the forest floor for some time. Remember, you want to be sure the bones have already been degreased and cleaned of all flesh/dirt/etc before putting into the peroxide.
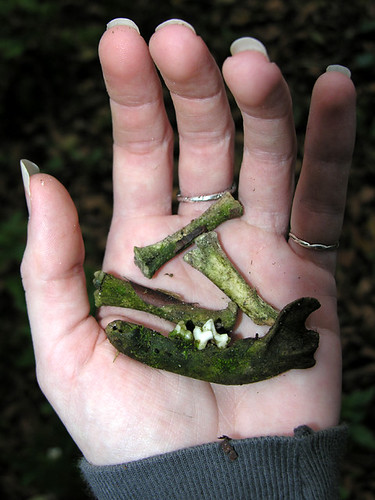
Too late to clean and whiten these bones. After bones have been left in the elements for some time they begin to break down. These bones are now "living" again covered with algae/fungi that is eating it. This is one reason I choose not to do the bury method. If you wait too long bones have already begun to decay. I like processing methods where I can see what is happening to the remains at all times.
To deflesh bones you have a number of options but I use two processes the most:
A) Nature Cleaning (some call it Range Cleaning like as in cows dying out in the pasture and left there to decay) - Put the animal remains in a cage and leave outside so that the insects, rain and sun can do their job.
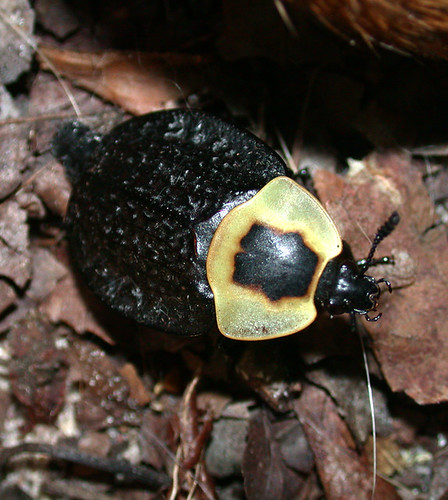
One of many carrion insects - the American Carrion Beetle, Necrophila americana.
You want it in a cage so that scavengers won't run off with limbs. You want to be sure to do this. Believe me, even insects have taken off with my bones in the past. Sometimes I also add a thin screen under the bottom of the bone cage to catch any really small bones that fall off.
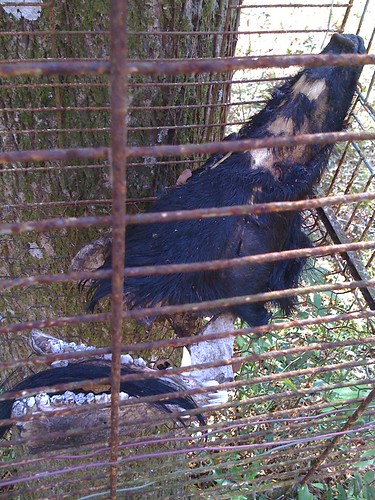
Wild boar head, jaw and tail in cage mounted to tree.
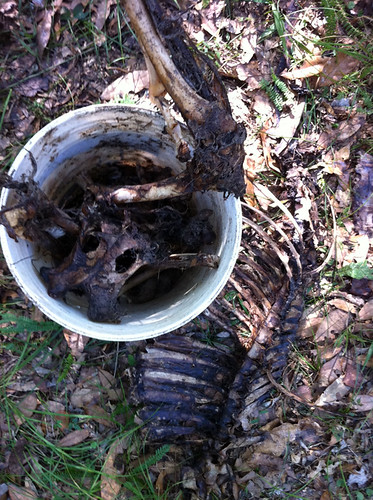
Nature cleaned deer remains, ready to macerate.
B) Maceration - Try to remove as much loose fur/flesh as you can by hand. Don't yank it it, that can break the bones! If it is really dry you may be able to cut off parts with scissors. Then put the animal remains in plastic lidded container fully immersing it in water. This is rotting process. Involving the living bacteria that break down the flesh on the bones. As the oils rise to the top of the water and flesh falls off the water will become nasty/smelly. As it does, pour it out and replace with new clean water. Repeat this process until all you are left with is bone. Note, maceration greatly slows in cold/er weather because the bacteria die off.
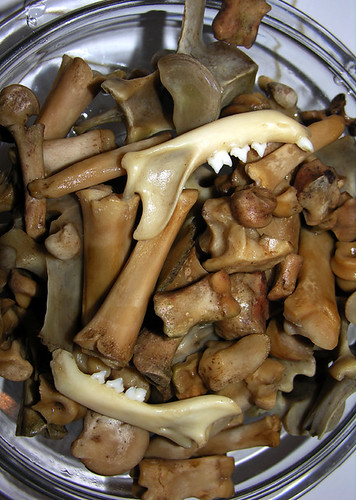
Freshly macerated and rinsed bones, ready to sanitize and whiten.
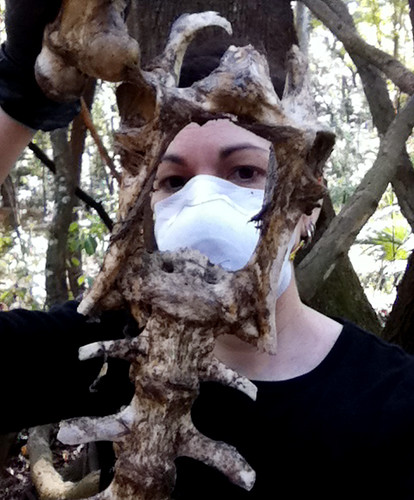
This will be very putrid smelling process as you can imagine rotting flesh is. I advise wearing laytex gloves when handling these remains until it is sanitized in the final step. I also wear a respirator if it is exceptionally bad.
IN REVIEW - ORDER OF BONE PROCESSING STEPS:
A) CLEAN - Either nature clean or macerate your remains. I often use a combination of the two. Letting nature do as much as it can for me then I macerate the rest. Also, if after I macerate and find I still have stubborn remains not coming off of the bones I use my crock pot method.

Maceration bucket refreshing with wild boar, deer and cattle bones soaking.
B) DEGREASE - This is really a personal preference. Some people like their bones grease free or only partly degreased. Some don't bother with this step at all. It varies for me from bone to bone and what they'll be used for. Bones found in the woods or out in a pasture rarely have much grease left in them. Some people like to leave their bones outside in a sunny spot where the rain and sun will naturally degrease them. I can tell by the sound and weight of a bone much of the time how much grease is still in it. You learn this over time.
C) SANITIZE & WHITEN - Do the 50/50 bath with water and hydrogen peroxide until desired color. Some people like their bones brown and stained. But remember if you are going to be handling them and especially if you are going to be selling them as jewelry, in art or for collections you don't want your anyone getting sick! At least let the bones soak for a day. If you see a lot of bubbling when you drop the bones into the bath they are still very unsanitary.
Speaking of sanitary, I shouldn't have to say this but I've heard of some people mixing their bone processing tools with their kitchen items. No, no, noooo! Do you want to get sick? I always keep my foodstuffs and bone processing tools, containers and such separate. I don't even wash them together. Be smart.
And come on people, don't let your pets chew on your bones or drink the maceration water. Seriously. Would you let your children?!?
Lastly, all of these processes take time. You must have patience if you want strong, properly cleaned and sanitized bones. I've found many people just don't have the patience for processing themselves and buy them instead. Or maybe they don't have a strong stomach...haha
I hope this was helpful!
Here is an additional HowTo blog post about maceration - The Mathematics Of Maceration - A HowTo Guide For The Impatient


