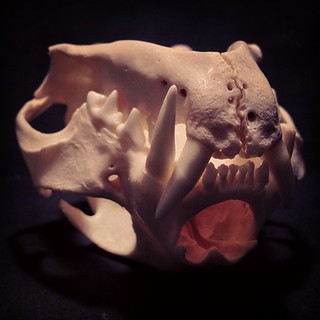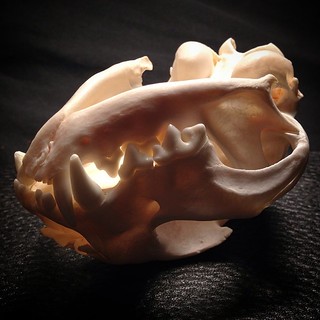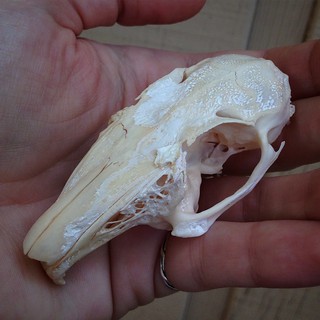
What you are seeing here on this rabbit skull is called adipocere AKA
corpse wax, grave wax or mortuary wax. It is a crumbly, waxy,
water-insoluble material consisting mostly of saturated fatty acids.
Adipocere
is the product of a chemical reaction in which fats react with water
and hydrogen in the presence of bacterial enzymes, breaking down into
fatty acids and soaps. Adipocere is resistant to bacteria and can
protect a corpse, slowing further decomposition. The transformation of
fats into adipocere occurs best in an environment that has an absence of
oxygen and high levels of moisture. Adipocere formation begins within a
month of death, and, in the absence of air, it can persist for
centuries.
It
is not uncommon for adipocere to be found on bones. Either found in a
natural setting or while being processed. I've found that the best time
to remove it is either A) when the bones are freshly out of maceration
or peroxide and you use a toothbrush to literally brush the adipocere
off while submerged in water or B) After the bones have been degreased,
had a peroxide bath and then dried. The adipocere become less waxy and
more flaky and you can more easily remove it with your fingernail or
again, with a toothbrush. This time dry.
Be
careful how much force you use on a bone with a brush or fingernail.
This rabbit skull for example is going to be a real challenge for me to
remove the adipocere as it is a very thin/fragile skull.
Saturday, March 21, 2015
Friday, March 20, 2015
BONELUST Q&A: "The teeth fell out of my skull! Did I do something wrong? How do I fix it?"
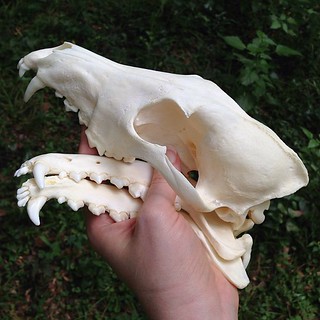
It is absolutely normal for some of the teeth to fall out of a skull you are processing. The gums that once held them in place are now gone. It is also normal for the mandible to split into two pieces in many animals, like this coyote.
Take photos of the skull/head with teeth in place before starting to clean it if you think you will have trouble putting them back into the correct place.
Pictured above is what you do NOT want to do! I received this absolutely glue saturated opossum skull from someone I though would know better. Second photo shows the same glue (white) before I brushed it off with a toothbrush, after I soaked the whole skull in water to remove the glue. Not all glues will come off in water but I suggest that as your first try.
Followup with a peroxide bath overnight. Then dry. Next you put the teeth back into place one by one with a very small amount of white school glue on each root before inserting into the skull. Wipe off any excess glue or it will be shiny on your skull. Let dry upside down so the teeth stay in place.
You put the mandibles back together with a small about of white school glue as well. They will not stay in place while drying without some help. I have a blog post already on how to reattach a mandible.
Some animal skulls you can flip over and the freshly lightly glued mandible just stays nicely in place while drying. Also, by doing it that way you're sure you have them glued together at the right angle.
Thursday, March 19, 2015
BONELUST Q&A: "Can I just leave animals to decompose in a bone cage & do nothing else?"
I am frequently asked - "Can I just leave animals to decompose in a bone cage & do nothing else?"
No, it is only one of the first steps in my bone processing techniques. There have been some misconceptions about how bone cages are used in my processing. There are several reasons you don't want to just leave an animal carcass in a bone cage for the months or even years it could take for nature to clean it for you.
Reasons Not to Leave Bones in a Bone Cage:
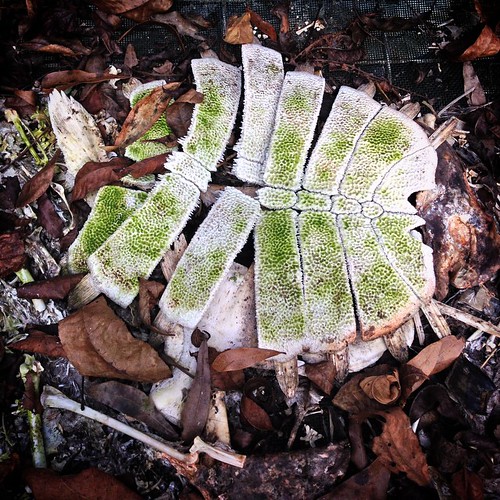
Lichen, moss, mold, algae etc can start to grow into the bones. Sometimes you can't get this plant life out of the bone. Or the green stain off.
Fallen leaves will eventually stain & decay the bones too. Also, you greatly chance getting rust on your bones which I've yet to find a fix for in over 30 years. So yes, rust stains are permanent in bone. Even though I put screen down over the metal wire cage it can still ruin the bone if left too long.
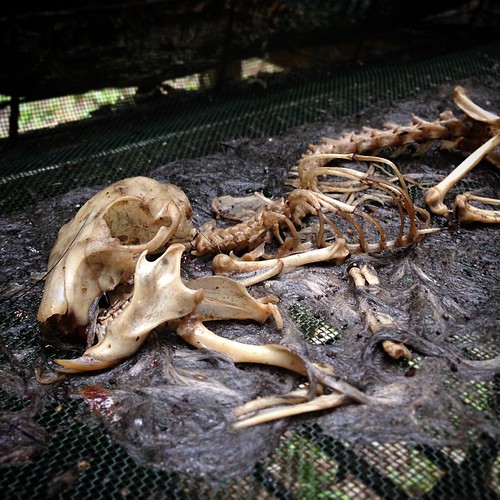
Note the screen under the squirrel to catch tiny teeth/bones and keep it from rusting.
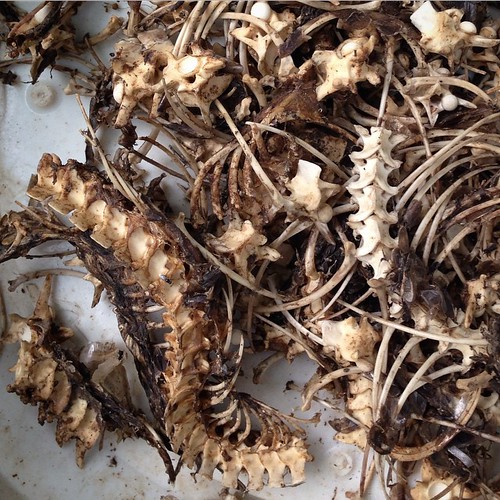
Pictured below are diamondback rattlesnake vertebrae & ribs I just removed from my bone cage today. I removed as much excess skin that remained then started them with the maceration process.
Normally my bone cages are used simply to let the wild carrion insects deflesh the animal remains for me. Then I move the bones onto the maceration step to further clean them of flesh, skin, ligaments, cartilage & such. Then degrease if needed and last step is the sanitizing & whitening hydrogen peroxide bath.
So in summary, if you left an animal carcass in a bone cage for the months or even years it could take for nature to fully clean it for you... you would likely end up with very weathered and flaky bone, with rusty undersides and plant growth.
Subscribe to:
Posts (Atom)